
How to Create a Survey Template
One of the many features in AEFIS includes creating surveys. Different types of Surveys can be created within AEFIS to gather faculty feedback from students. Surveys can be created to gauge students’ interests and thoughts on a particular course. Whatever the purpose for your survey, it can all be conducted in AEFIS.
Created with v3.54
Applicable to: Institutional Admin, College Admin, and Department Admin
Step-by-Step…
Step 1: Log into your AEFIS account
Step 2: Select the three white horizontal lines in the top left hand corner to open the AEFIS Main Menu
Step 3: Navigate to Surveys > Survey Templates
Step 4: Use either the +Add Filter or the search bar to locate the desired Course Section
Step 5: Select the blue +ADD SURVEY TEMPLATE button on the upper right
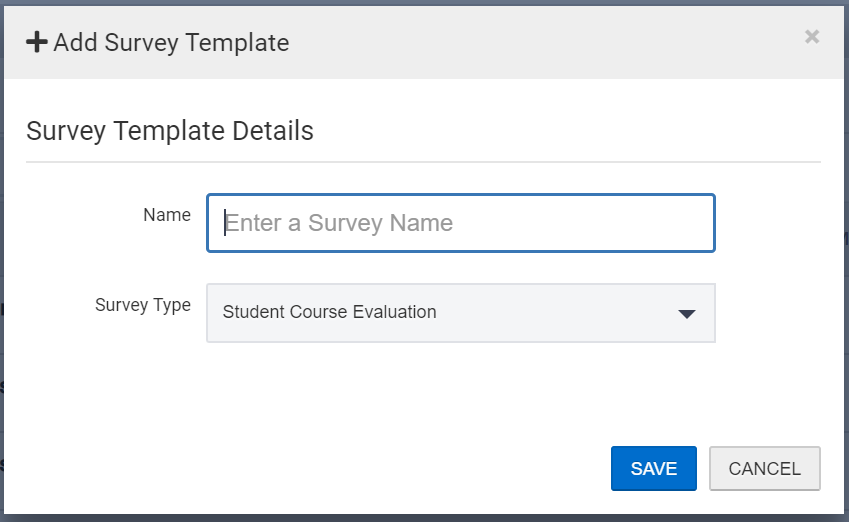
Step 6: A pop-up window will appear, populate the survey Name and Survey Type
Step 7: Select the blue SAVE button
Step 8: You will be re-directed to the Survey Template home page
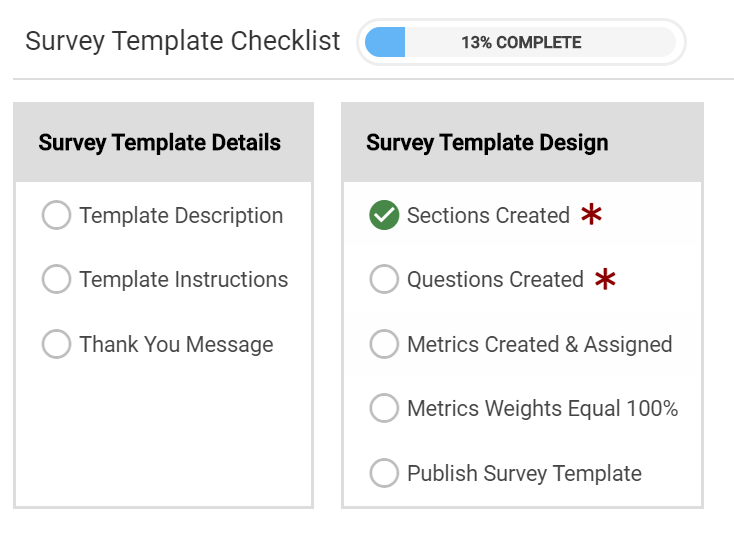
- Review the Survey Template Checklist
Please Note: Any item that is marked with a red asterisk is required, and you are not able to finalize or publish your survey without those required items being completed.
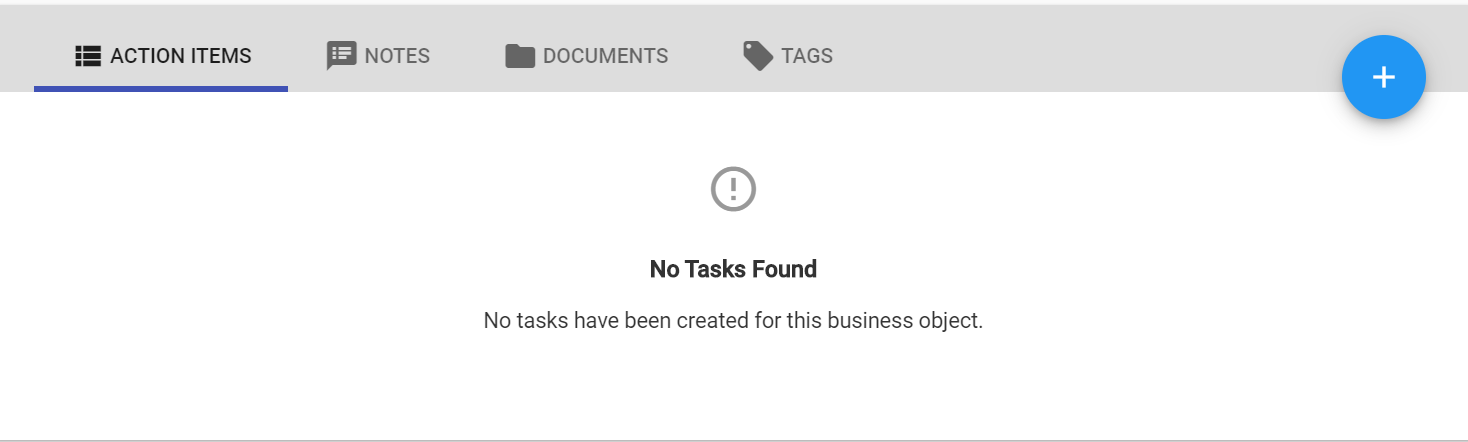
- Add any applicable tasks such as Action Items, Notes, Documents, Tags

Step 9: Select the Details tab in the panel on the left
- Any Survey Template in Draft status can be updated with a new Template Name, Description, Instructions and Thank You Message if applicable
Step 10: Select the blue “Save” button when you have finished editing the main details of your Survey
Step 11: Select the Template Designer tab in the panel on the left
- In this section you will create and design the actual Survey Template.
Step 12: Select the blue EDIT button in the upper right corner
Step 13: Select Section 1 to edit the name of the first section in the template
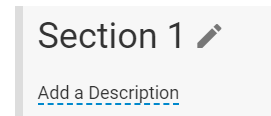
Please Note: Each survey requires at least one section.
Step 14: Select the blue ![]() to save the section title
to save the section title
Step 15: Hover over the blue icon with the three white vertical dots and select “Add Question” ![]()
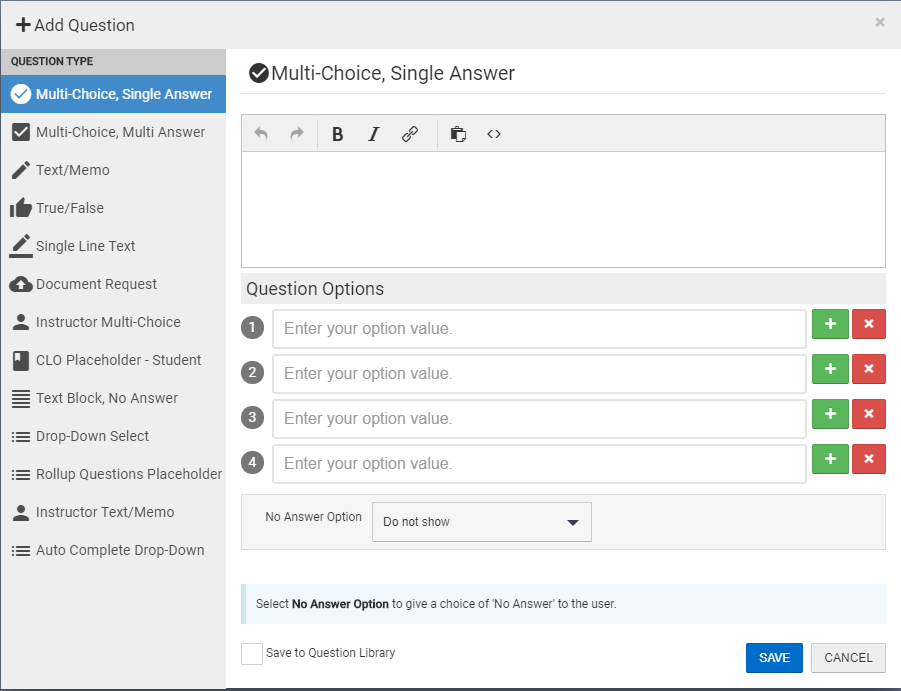
Step 16: Select from the Question Type list
- Multi-Choice, Single Answer: Can be used on ANY survey type.
- Multi-Choice, Multi Answer: Can be used on ANY survey type.
- Text/Memo: Can be used on ANY survey type.
- True/False: Can be used on ANY survey type.
- Single Line Text: Can be used on ANY survey type.
- Document Request: Can be used on ANY survey type.
- Instructor Multi-Choice: Can ONLY be used on Student Course Evaluation.
- Choose whether to ask the question to primary and/or secondary instructors.
- CLO Placeholder – Student: Can ONLY be used on Student or Faculty Course Evaluations.
- If Course Learning Outcomes have been added to the Course then the survey form will automatically display them.
- Text Block, No Answer: Can be used on ANY survey type.
- Drop-Down Select: Can be used on ANY survey type.
- Instructor Text/Memo: Can ONLY be used for Student Course Evaluation.
- Choose whether to ask the question to primary and/or secondary instructors.
- Auto Complete Drop-Down
Step 17: Use the green (+) to add question options and the red (x) to remove question options.
Step 18: Check off “Save to Question Library” if you would like to use the same question in multiple survey templates.
Step 19: Select the blue SAVE button when you have finished creating the question and/or answer choices
Step 20: To add another section to your Survey Template, select the ![]() button in the top left corner
button in the top left corner
- Input the Section Name, Section Description, and desired placement of the Section (before or after another section
- Again, hover over the blue icon with the three vertical white dots and Click “Add Question”

Please Note:
- To shift the placement of a section, hover over the blue icon with the three vertical white dots and Click “Move Section”

- If you would like to delete a section, hover over the blue icon with the three vertical white dots and Click “Delete Section”

- Before you delete an entire section, you must first delete the individual questions under that section by clicking on the drop-down of the desired question. Then you will click “Remove.”

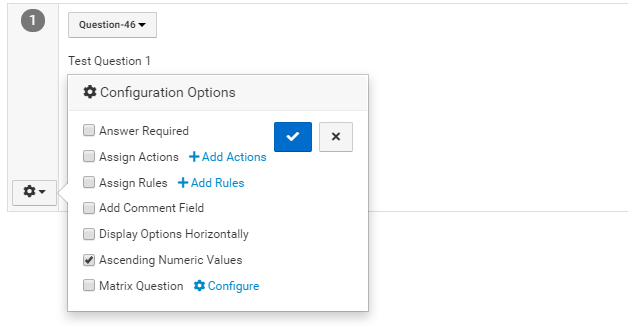
Question Details:
- Answer Required: Check this box by the desired question or click the asterisk on the top of the page so the setting will apply to all questions
- Assign Actions: Can set consequential actions for questions and answer options
- Assign Rules: Can set rules for each question
- Add Comment Field: Can be added to any Multi Choice Type Question
- Display Options Horizontally: By default,all question options will display vertically.
- Ascending Numeric Values: By default, all question options have a value from 1 to 5 or lowest value to greatest value.
- If unchecked the numeric values will be switched to descending. 5 to 1 or greatest value to lowest value.
- Matrix Question: Can add a desired question to a desired matrix of question
Step 21: When you have finished editing the questions and question settings for your Survey Template, select the blue EXIT button in the top right-hand corner.
Helpful Tips
All desired changes and edits that need to made to the Survey form, change the status of the form from Published to Draft
To learn more about how to create your survey schedule, click here
If you have any more questions or concerns, don’t hesitate to contact the AEFIS Client Success Team.
