
How to Create a Syllabus Template (Admin)
Applicable to: Institution Admin, College Admin, and Department Admin
Quick Video…
Note: This video does not contain any audio.
Step-by-Step…
Step 1: Log into your AEFIS account
Step 2: Select the three white horizontal lines in the top left-hand corner to open the AEFIS Main Menu
Step 3: Navigate to Courses>Syllabus Templates
Step 4: Select the blue +ADD SYLLABUS TEMPLATE tab in the top right-hand corner
Step 4: Select the blue +ADD SYLLABUS TEMPLATE tab in the top right-hand corner
Step 5: A pop-up window will appear and fill out the following fields:
- Template Name
- Template College
- Template Department
Step 6: Select the blue SAVE button
Step 7: You will be re-directed to the syllabus template Home page, where you can see the following:
- Syllabus Template Checklist
- Template Sections
- Form Items
Step 8: If you would like to add action items, notes, documents, etc for your syllabus template, scroll to the bottom of the page. Select the blue icon with the white plus sign to add the following

Step 9 (Optional): Select the Details tab in the panel on the left-hand side
Step 10: On the Details page, you can edit the following:
- Name of the Syllabus Template
- College
- Department
- Description
Step 11: Select the blue SAVE button, once you have made the desired changes
Step 12: Select the Template Designer tab in the panel on the left-hand side

Step 13: Select the blue EDIT button in the top right-hand corner

Step 14: Select the + SECTION tab in the top left-hand corner
Step 15: A pop-up window will appear and enter the following information
- Section Name
- Section Description
- Section Position
Step 16: Select the blue SAVE button
Step 17 (Optional): Hover over the blue icon with the three white horizontal lines to either move the section or delete the section
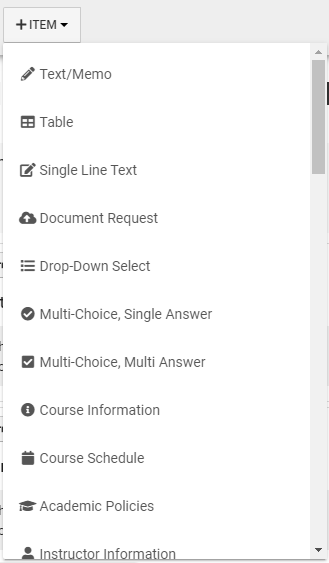
Step 18: Select the + ITEM tab in the top left-hand corner

Step 19: Select the desired item
Step 20: A pop-up window will appear, and enter the necessary fields and information
Step 21: Select the blue SAVE button
Step 22: Once you have created the desired sections and corresponding items, select the blue EXIT button in the top right-hand corner

Step 23: After you have created the desired template, select the blue PUBLISH button
Helpful Tips
If you wish to attach your newly created template to a course, please make sure to publish the template.
If you would to learn more information on how to add a syllabus template to a course, visit the following AEFIS Academy Guide
If you have any questions or concerns, do not hesitate to contact AEFIS Client Success
